Yummy, healthy greens are easy to grow and good for you too!

Greens get a bad rap, and it's not fair. Because they're easy to grow, they taste awesome, and they're really good for you, too! I'll admit: getting kids to eat greens can be particularly challenging, as they're something of the epitome of the "vegetable". But drawing them into the process of planting, growing, cooking, eating and, yes, crafting, can help. I'm going to share tips for bringing greens into your life, from seed to plate.
First, let's look at growing greens. Here's how to get started.
There are lots and lots of types of greens out there - from tender-leafed salad greens to the more robust collards and kale. A first step is to think about what your family will eat.
Will you have more success serving a raw or cooked variety? Can you incorporate cooked greens into some dishes you already make? Do you have space in a garden bed, or will you grow your greens in a container? Here are tips on growing two varieties on either end of the general spectrum.
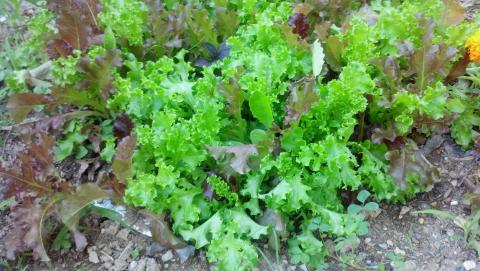
Mesclun greens!
Mesclun greens are a mix of salad varieties, and have a really nice complex taste. Growing mesclun is easy, and can be done in a garden bed or container. Tender greens like this prefer cooler weather and some shade during the day; they're a great choice for early or late in the season, or in a partially shaded section of your garden bed.
- Prepare your soil. You'll want to find some loose, loamy soil (meaning not too much sand, not too much clay). A container that's at least 6" deep will work great, too. Water the soil or container, to the point the soil is damp but not soggy.
- Plant your seeds about 1/8" deep. I usually scatter them across the surface, then gently rake the soil around with my fingers. Or sprinkle a light layer of dirt on top.
- Water gently as needed. Tiny seeds like these can wash away, so be careful not to spray them with a strong hose or let the water pool.
- Seeds should sprout in about a week, and you can start harvesting the bottom leaves or whole plants when they're a few inches high. Mesclun greens are best tender, so harvest them early and definitely before the plants go to seed.
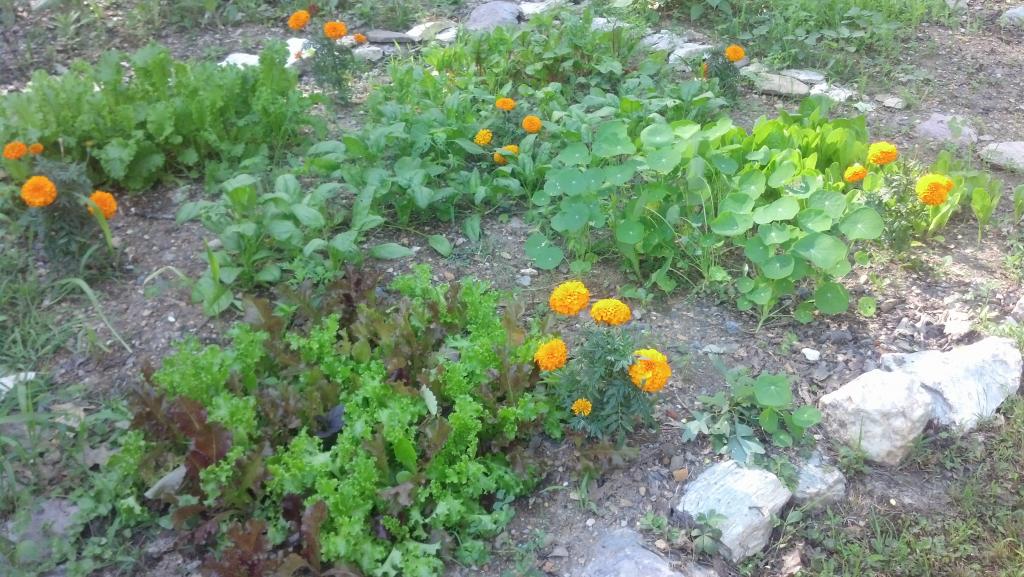
Collard greens
Collards are my favorite, and a wonderful addition to the dinner table. Like mesclun greens, collards also prefer cooler temperatures - i.e. being grown at the beginning or the end of the season. These plants are more robust and won't do as well in containers, unless you can plant one plant per 12" pot.
- Prepare your soil. Collards are heavy feeders, meaning they will suck up lots of nutrients. Water the soil to the point it's damp but not soggy.
- Plant your seeds about 1/4" deep, about 12" apart.
- Water as needed. Collards can handle some dry periods, but it will make their leaves bitter.
- After about a month, harvest as needed. Like mesclun greens, you can start picking the bottom leaves off the plant over the course of many weeks, extending the life of the plant as long as possible.
Check out other posts in this series: G is for Greens Part 2: Cooking with Collards and G is for Greens Part 3: DIY Plantable Paper.
Love healthy food and communities? Join the MomsRising.org Good Food Force!
Related Posts


The views and opinions expressed in this post are those of the author(s) and do not necessarily reflect those of MomsRising.org.
MomsRising.org strongly encourages our readers to post comments in response to blog posts. We value diversity of opinions and perspectives. Our goals for this space are to be educational, thought-provoking, and respectful. So we actively moderate comments and we reserve the right to edit or remove comments that undermine these goals. Thanks!