
Supplies:
2 Yards of fabric Thread Velcro Measuring Tape Iron Sewing Supplies
I made this cape from one color of fabric, but you could easily get two different colors (1 yard of each) for a double sided cape!
Tear two pieces of fabric 31 inches in length. Lay the two pieces on top of each other and fold them in half.

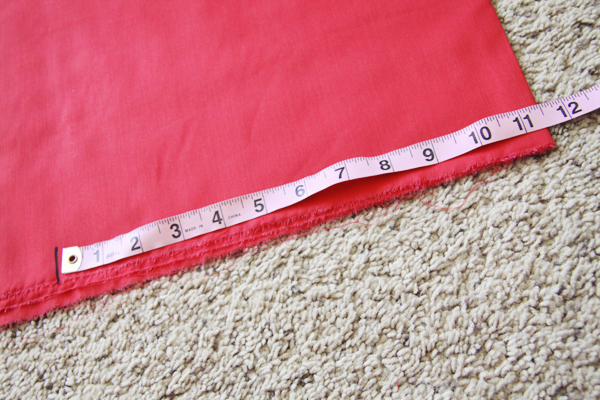
You will need a marking tool, such as chalk or a pencil (I used a black marker for viewing purposes.. don't do this on your cape!). On one end of the fabric mark a line at 11 inches. On the other end mark a line at 5 1/2 inches.
Using a measuring tape or a piece of long string, connect the two marks and draw a straight line between.

Cut your fabric 1/2 inch away from the line you just created, and cut a straight line across the wider bottom edge.
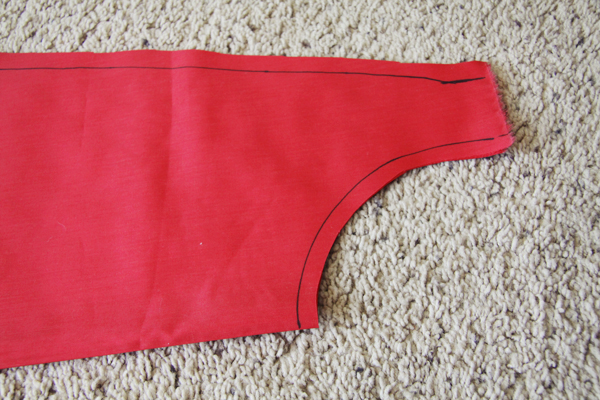
 Find a bowl or plate that measures 8 inches across. Lay the round object on top of your fabric at 5 1/2 inches from the top and 4 inches from the fold. Then trace the object from edge to edge on your fabric.

Cut 1/2 inch away from this round line you have created.
While the fabric is still folded, gently round the bottom and top corners of the cape (shown in the picture below).
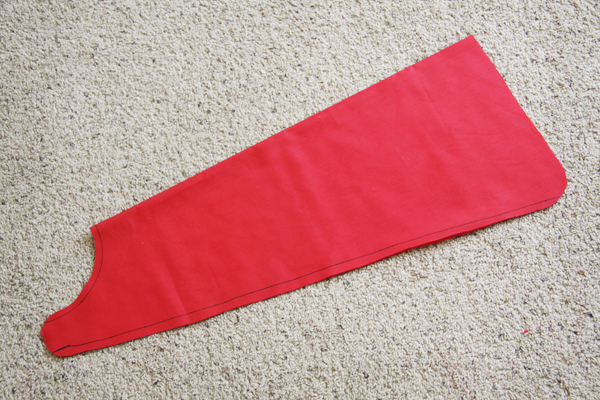
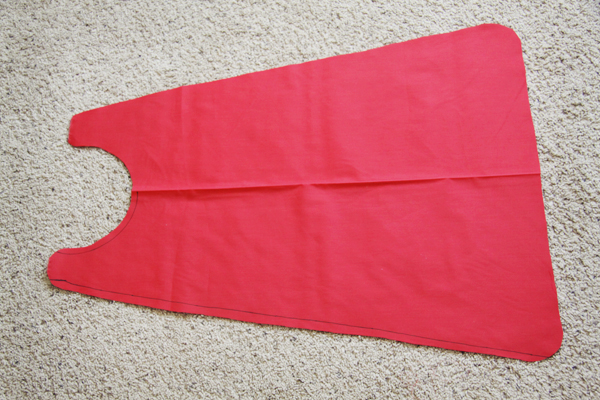
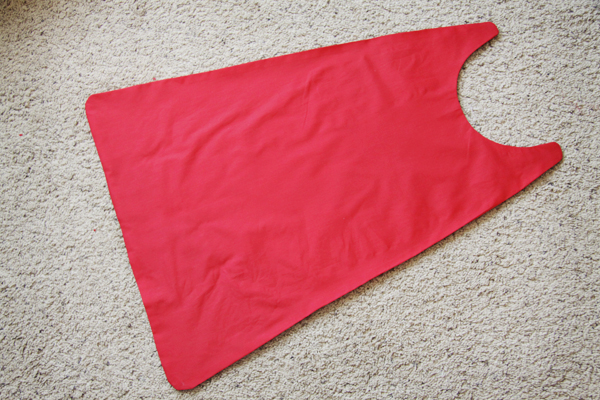
Unfold your fabric.
It's looking like a cape!
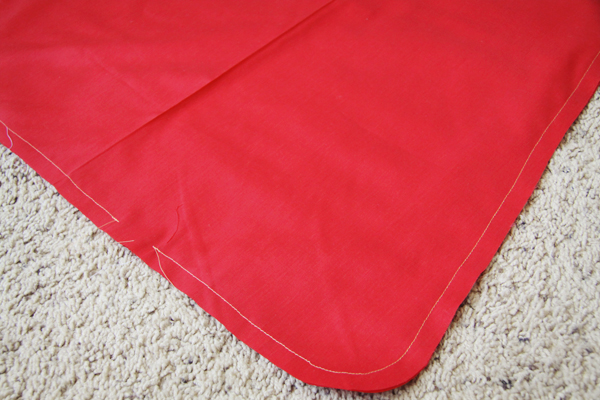
Leave the two pieces of fabric lying on top of each other and head to your sewing machine. I didn't bother pinning my cape, just make sure you keep them lined up while you are sewing. Sew around the cape at 1/2 inch and remember to back stitch. Leave a 2 inch opening so you can turn the cape right side out (I recommend leaving it on the bottom of the cape).
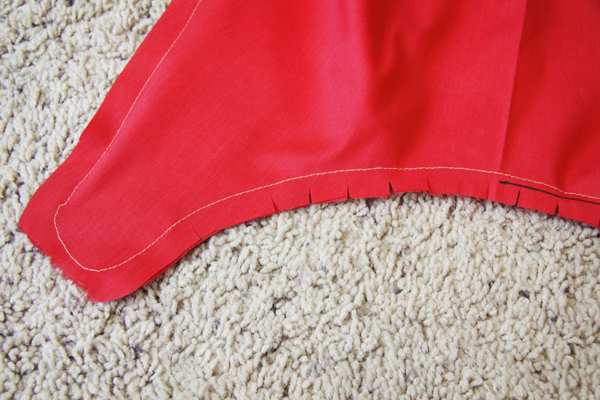
Once you have sewn, clip around the neck of the cape to relax the seam.
Turn the cape right side out! Warm up your iron and press the edges and all the wrinkles flat. Then hand sew that little opening closed.
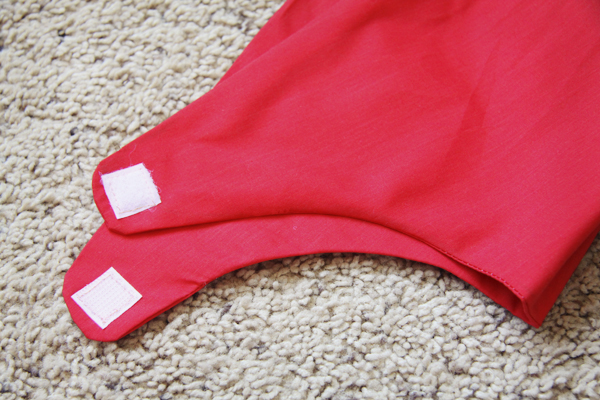
The final touch is my favorite part of the cape. No more tying that blanket around your little one's neck! Velcro to the rescue!!!
Cut a square of velcro. Sew the squares close to the edge, placing them on opposite sides of the cape. They will overlap when you put them together.
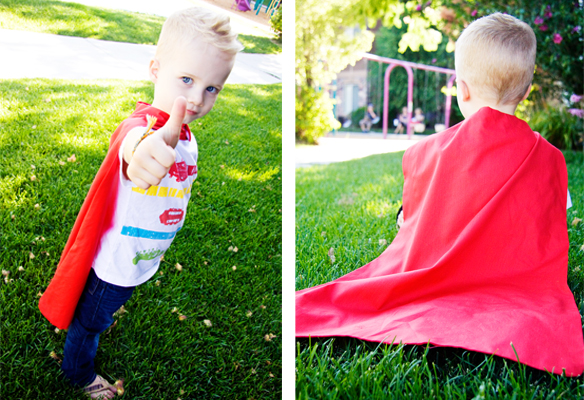
Get ready to make your child super happy! Attach it around the neck and watch them fly!

 HowDoesShe is a site dedicated to finding out "How Does She?" by collaborating ideas on how to become the mothers, wives and world class women that we want to be!
Editor's Note: Get to know the superhero moms of the MomsRising movement! Learn more about us (and how you can join for free!) right here: http://www.momsrising.org/page/moms/aboutmomsrising
And get tips on healthy superhero party food, also on the MomsRising.org blog!
Related Posts

The views and opinions expressed in this post are those of the author(s) and do not necessarily reflect those of MomsRising.org.
MomsRising.org strongly encourages our readers to post comments in response to blog posts. We value diversity of opinions and perspectives. Our goals for this space are to be educational, thought-provoking, and respectful. So we actively moderate comments and we reserve the right to edit or remove comments that undermine these goals. Thanks!